Tab Autocomplete Basics
Stay in flow by accepting only the suggestions that match your intent.
Use the right surface
After this you can pick Tab for the right job and define done.
Done means you can accept, reject or ignore Tab without breaking coding flow.
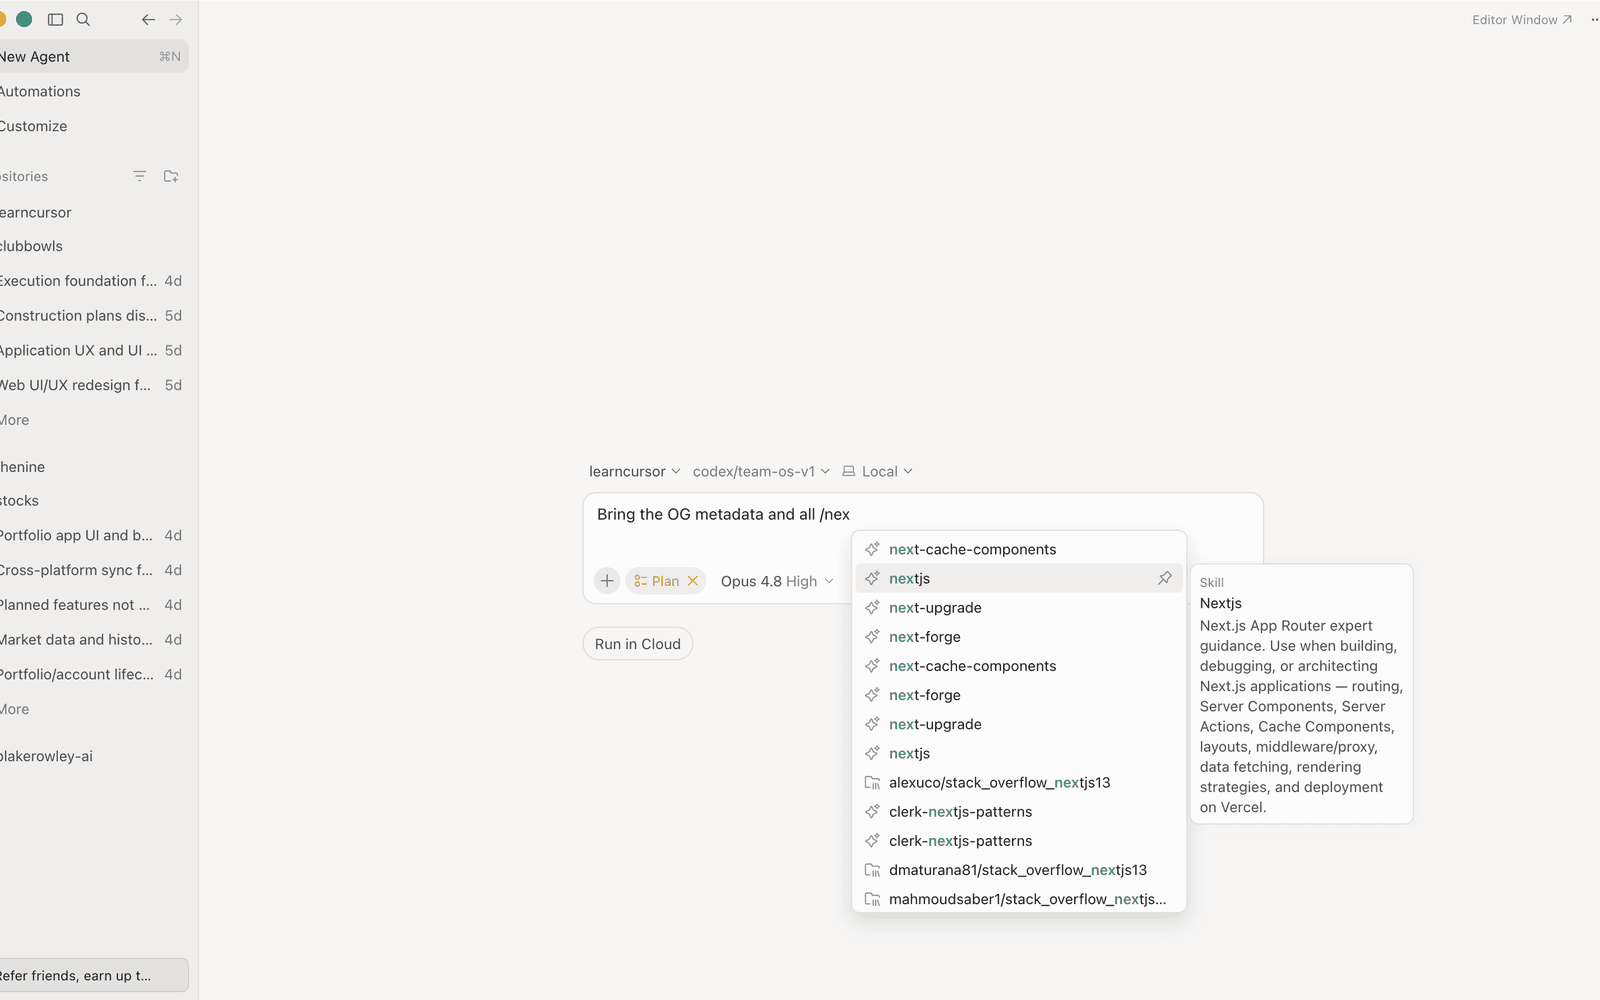
Fast edits still need a boundary: accept the useful completion, then review the patch.
Use Tab when you are editing locally and Cursor predicts the next change. Keep the boundary narrow.
Start small. Name the job, attach the context that proves the point and decide what evidence would make the output trustworthy.
Read the loop before touching the controls. The first beat frames the work, the second uses Cursor, the third checks the result and the fourth leaves a handoff someone else can inspect.
Interactive diagram. Tab through its regions; each focused region shows its detail in the panel below.
Run this loop in a real repo.
- Entry point
- Tab suggestions in the editor
- Source
- Cursor TabCursor's original autocomplete: multi-line, edit-aware suggestions you accept with the Tab key. help docs
Use the source as the product reference.
Ask Cursor for an output you can inspect.
If the output cannot be checked, narrow the task before you continue.
A good run leaves a file, setting, screenshot, command result or written claim you can verify.
Takeaway. Done means you can accept, reject or ignore Tab without breaking coding flow.
Self-check
QWhen should you reach for Tab?
Run it
After this you can do the task with clear scope and one proof point.
Treat this as a short practice loop, not a product tour. The task should be small enough that you can inspect the result without trusting the summary.
- 1Start a concrete edit so Cursor has local intent to predict.
- 2Accept suggestions that preserve your exact direction and style.
- 3Reject or keep typing when the suggestion changes intent.
- 4Use word-by-word acceptance when only part of the suggestion is right.
The exercise is complete only when the proof matches the requested outcome. If the proof is weak, reduce the scope or fix the context instead of adding more instructions.
Keep the task small enough to review.
You can explain why you accepted or rejected the suggestion.
Takeaway. Stop when you have proof: Accepted code still reads like code you would have written..
Self-check
QWhich habit makes this workflow safe to use on a real project?
Check it
After this you can find the first failed check before changing tools.
Verification decides the next move.
Interactive diagram. Tab through its regions; each focused region shows its detail in the panel below.
Pick a row to see what to look for.
Use the first failure signal as the next prompt. Broad retries usually make the run noisier; a narrow retry gives Cursor a concrete repair target.
No proof means more checking.
Use a real repo or admin setting. Save the prompt, context and proof.
Takeaway. If it fails, find the first failed check.
Self-check
QThe workflow failed. What is the best first move?